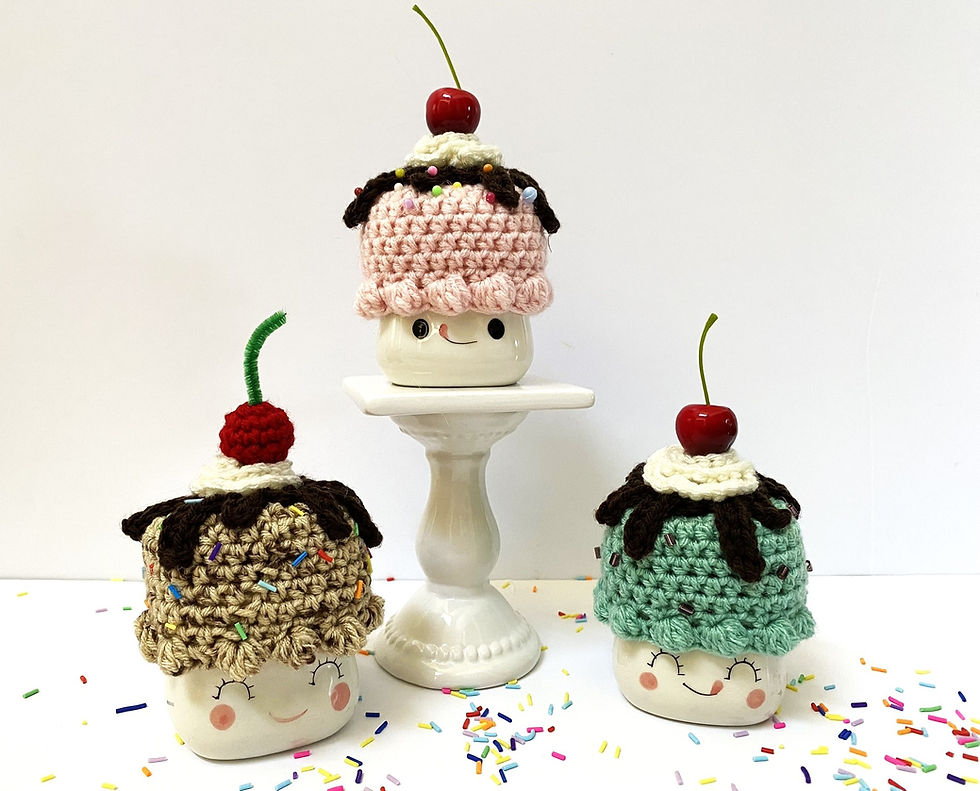
I've been making marshmallow mug hats each month and they are usually designed with holidays or seasons in mind. This time I decided I wanted one that works for birthdays or any celebration or occasion in which ice cream would be involved (which for me is ALL OF THEM). Since my own birthday is coming up, I might just be fixated on the ice cream I will soon be eating. Mmmmm, ice cream.
Just look how cute these ice cream mug hats are!! And, of course, you can customize them with all kinds of sprinkles, ice cream flavors, and types of chocolate/strawberry/marshmallow topping. All of mine have chocolate topping because for me there really is no other topping worth mentioning. What kind of ice cream will you create?
Watch the video tutorial here:
This post may contain affiliate links which means at no extra cost to you I may receive a commission if you decide to make a purchase through my links.
Supplies:
Hobby Lobby’s I Love this Yarn in Soft Pink, Coffee, Ivory, Menthe
Yarn Bee Soft and Sleek in Oatmeal for the cookie dough ice cream scoop
Optional:
Czech glass beads – I used these for the mint chocolate chips
OR
Hobby Lobby’s I Love This Yarn in Red
Gauge:
14 hdc worked over 12 rows with G hook measures an approximate 4-inch-square
Yardage:
Soft Pink/Menthe/Oatmeal (ice cream scoop) – 25 ½ yards
Coffee (chocolate topping) – 13 yards
Ivory (whipped cream) – 6 ½ yards
Red (cherry) - a small amount
Stitch Abbreviations:
mc – magic circle
ch - chain
sl st – slip stitch
sc – single crochet
hdc – half double crochet
dc – double crochet
tr – treble/triple crochet - yarn over twice, insert hook into next stitch, yarn over and draw up a loop (4 loops on), yarn over and draw through 2 loops (3 loops remaining), yarn over and draw through 2 loops (2 loops on), yarn over and draw through the last 2 loops on the hook.
dec – decrease
inv hdc dec – invisible half double crochet decrease – yarn over, insert hook into the front loop of the next stitch, without yarning over insert the hook into the front loop of the next stitch (you should have 4 loops on the hook), yarn over and pull through 2 loops (there should now be 3 loops on your hook), yarn over and pull through all 3 loops.
bobble stitch - Yarn over, insert hook into stitch, yarn over and pull through (three loops on hook), yarn over and pull through 2 of the loops. Repeat the previous step four more times so that you have six loops on the hook. Yarn over and pull through all six loops.
Notes:
-When I refer to the “base” I am talking about the ice cream portion of the pattern that you will make before beginning the drips.
- The chain at the start of each row does not count as a stitch.
- Slip stitch to the first stitch of the row, not the chain.
If you would like an inexpensive, print-friendly copy of the pattern, you can find it here.

Ice cream hat base/ice cream pattern:
with Soft Pink, Menthe or Oatmeal
G 4 mm hook
row 1 - mc and place 8 hdc in the mc, sl st to the first hdc, ch 1 (8)
row 2 – 2 hdc in each stitch around, sl st to the first hdc, ch 1 (16)
row 3 – (2 hdc in the same stitch, hdc in the next) repeat around, sl st to the first hdc, ch 1 (24)
row 4 – (2 hdc in the same stitch, hdc in the next 2 stitches) repeat around, sl st to the first hdc, ch 1 (32)
rows 5 – 9 – hdc in each stitch around, sl st to the first hdc, ch 1 (32)
row 10 – (hdc in the next 3 stitches, inv hdc dec) repeat around, 2 hdc in the last two stitches, sl st to the first hdc, ch 1 (26)
row 11 – (bobble stitch, sc in the next stitch) repeat around, sl st to the first hdc (13 bobbles and 13 sc)
Finish off and weave in ends.

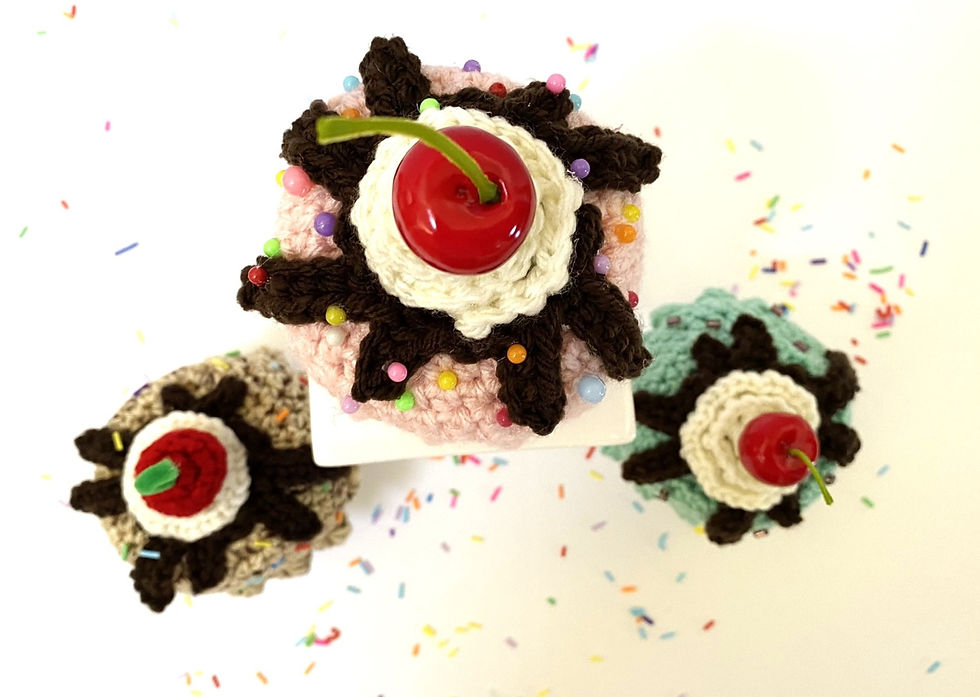
Ice cream mug hat chocolate topping pattern:
With Coffee yarn
row 1 - mc and place 8 hdc in the mc, sl st to the first hdc, ch 1 (8)
row 2 – 2 hdc in each stitch around, sl st to the first hdc, ch 1 (16) – these two rows are the “base” of the topping
row 3 – Making drips – ch 6, starting in the second ch from hook sc in each ch back to the base (5), sl st in the next st
ch 3, starting in the second ch from hook sc in each ch back to the base (2), sl st in the next st
dc, sc
ch 5, starting in the second ch from hook sc in each ch back to the base (4), sl st in the next st
ch 6, starting in the second ch from hook sc in each ch back to the base (5), sl st in the next st
dc, sl st in next st
ch 7, starting in the second ch from hook, sc in each ch back to the base (6), sl st in the next st
ch 4, starting in the second ch from hook sc in each ch back to the base (3), sl st in the next st
dc, sl st in the next stitch
ch 5, starting in the second ch from hook sc in each ch back to the base (4), sl st in the next st
ch 7, starting in the second ch from hook sc in each ch back to the base (6), sl st in the next st
dc, sl st to the base of the first drip
Finish off and weave in ends.
Attaching the topping to the ice cream mug hat:

I hot glue the topping onto the ice cream hat base. I find it easiest to do this after putting the ice cream base onto a mug so the hat is held open.
Apply hot glue to the center of the back of the topping and place it onto the center of the top of the hat.
Apply glue to one topping drip, place it where you want it and let it cool while holding in place. Once that drip is cooled, move onto a new drip and repeat the process.
Ice cream mug hat whipped cream pattern:
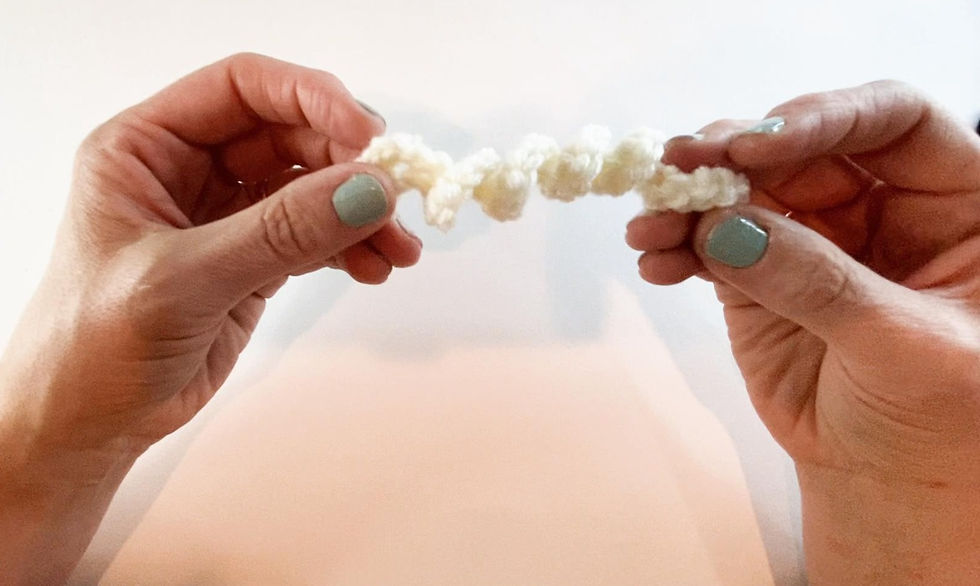
ch 20
Beginning in 2nd chain from your hook, 3 sc in each chain (57)

This will form a curlicue.

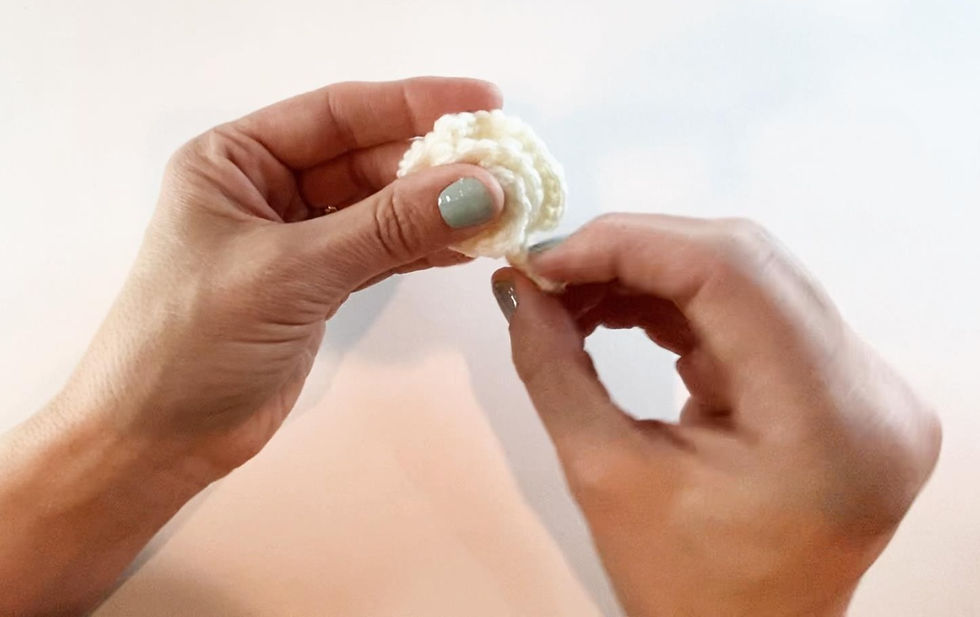
Starting at one end, unwind the twist and roll into a whipped cream shape by stacking layers on top of one another.

Ice Cream mug hat cherry pattern:
with an F 3.75 mm hook and Red yarn
row 1 – work 6 sc in a magic circle, sl st to the first sc, ch 1 (6)
row 2 – 2 sc in each stitch, sl st to the first sc, ch 1 (12)
rows 3-4 – sc in each stitch around (12)
Use a small amount of Poly-fil to stuff the cherry
row 5 – inv hdc dec around, sl st to the first sc (6)
Cut yarn leaving about 5-inch-tail
Use your darning/yarn needle to close the opening. Do this by weaving the needle in and out of the back loops of row 5 and pull tight. Finish off and weave in ends.

I can't wait to see what you come up with! Please tag me on Instagram with pictures of your mug hats with @nikki_findmecrafting.
If you want to make the rest of the year's free mug hat patterns, you can find them all here.
And don't forget to subscribe so you know when new patterns come out!
This pattern MAY NOT be copied, reproduced, altered, published or distributed in any way. You MAY sell finished products made with this pattern, but please credit me (Find Me Crafting).
.png)


Comments